Author: sylv3rblade

Built a new PC over the holidays

I was planning on saving things up for Ivy Bridge but seeing that it’s release date is around 6 months (or more) away, I decided to bite the bullet and splurge a bit to build a new gaming PC.

Here’s what I’ve bought to build my rig:

  • Intel i5-2500K
  • Asus P8P67-M B3
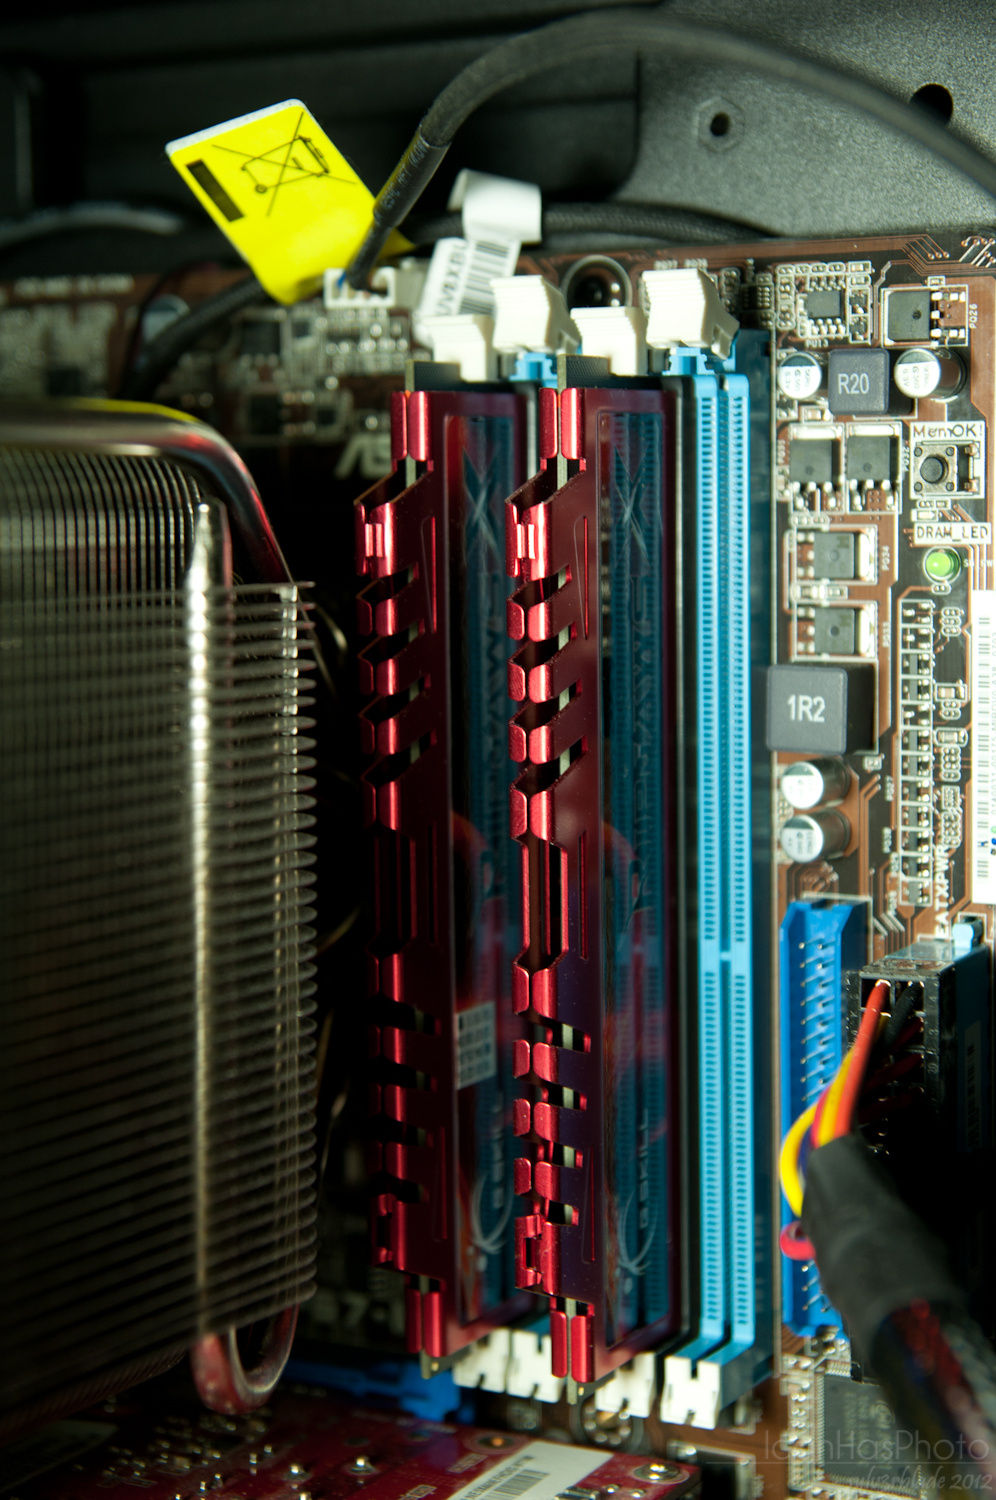
  • G.Skill RipJaws 8gb (2x 4GB 1600Mhz)  DDR3
  • Seagate 500GB 7200 Sata 3
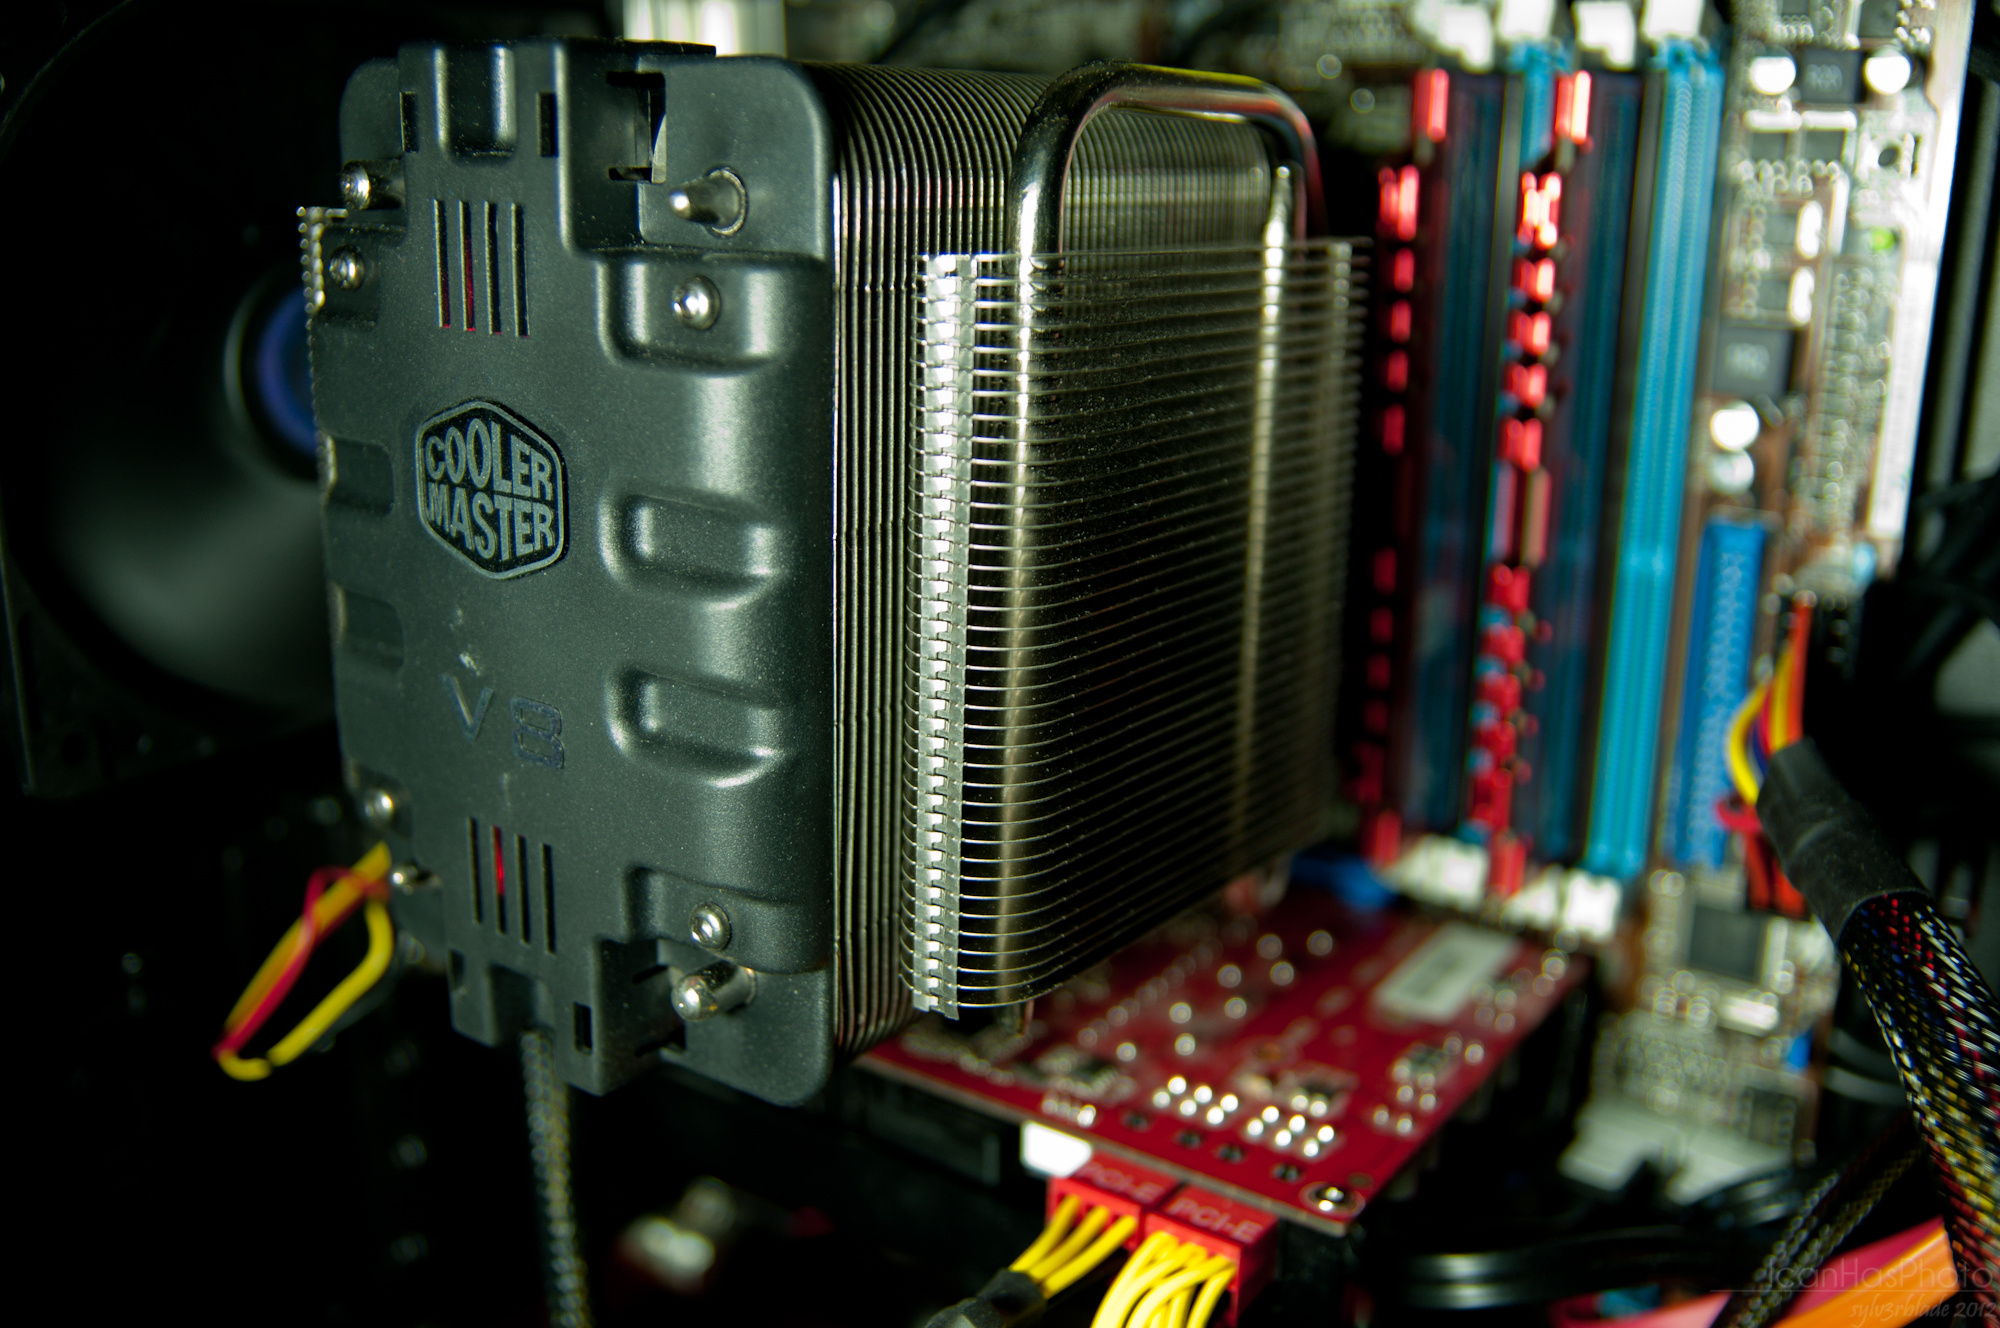
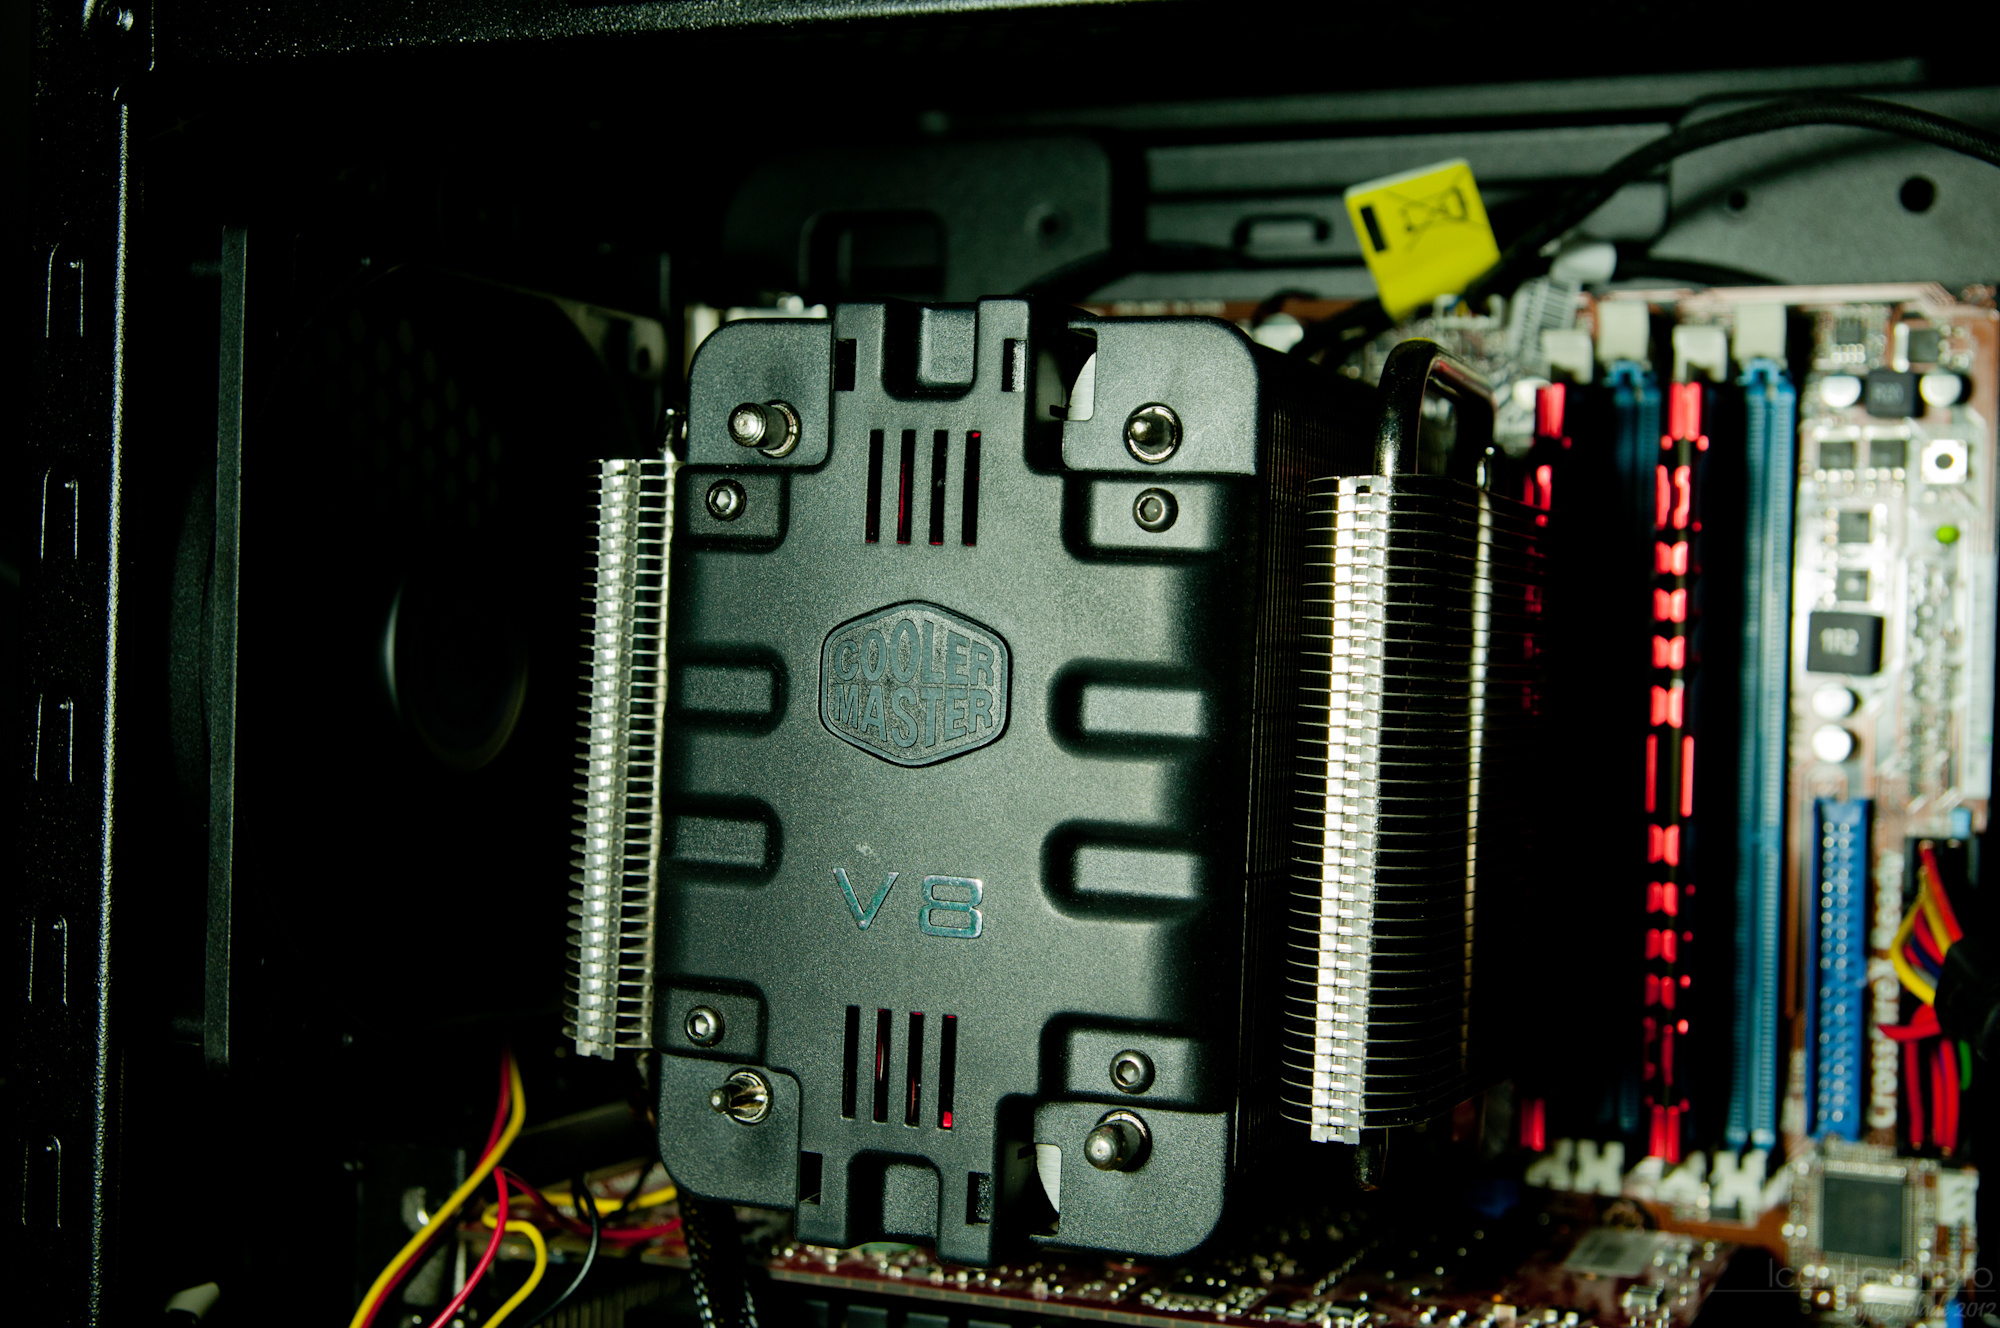
  • Cooler Master V8 CPU Cooler
  • Cooler Master Storm Enforcer
  • AeroCool Strike-X 80PLUS 600W PSU

Total cost, around 30K Php

Why the i5-2500k?  It’s the most popular CPU in Intel’s current Sandy Bridge line and with good reason.  First off, it’s the cheapest unlocked processor, the next item on the list is the i7-2600K and while offers a bit of improvement over the 2500K, the added cost for me is simply not worth it.

My initial build had me going with the Asus P8P67-M B3–take note that I say initial because I’m going to replace it soon with a Z68 board (either an Intel one or another Asus board).  Mind you if you’re looking for a cheap way to mount your Sandy Bridge processor, the  P8P67-M  is a good board,  It’s got the basics laid down like support for 1600 Mhz DDR3 DIMMs, support for fairly large CPU cooler (in my case the Cooler Master V8), SATA 3 6Gb/s ports, USB3, etc.    For my use case however, I’ll be better off going with a Z68 board due to Virtu, Intel’s multi-GPU solution implemented at board-level.  Basically the gist of Virtu is that you’ll be using Sandy Bridge’s on-chip GPU until your applications demand something beefier.  I’m still looking at reviews but I think my gist is spot on so correct me if I’m wrong as I’m basing this on a several weeks old review from Anandtech.  Apparently I read things wrong, Virtu appears to be implemented on application level indicating that there will be a performance hit when you opt to use the IGP and discrete GPU at the same time :/  Darn.

I stuck with a Seagate 500GB 7200 because I still have my 1TB Seagate 10K Raptor which I’m currently using as my primary drive.  I wanted to get an SSD for this but that’ll have to wait for my Ivy Bridge (??? hopefully haha) build.

Looking at the list, there’s no GPU from the things I’ve bought.  I still have two DX10 GPUs which have served me well, the GeForce 460 GTX and the Radeon 4850 1GB SE.   The current build uses the Nvidia card because I had stability issues with the 4850 :/ I’m still going to use for my HTPC once I have purchased the new Z68 board.

Now for the case, I opted for the Storm Enforcer because my first choice, the 690 II Advanced was sadly out of stock :(.  Compared to my older case, the Thermaltake V3, the Storm Enforcer was a hell of a  lot easier to work with due to it’s massive size and features.  The price is well worth the looks too 🙂

I got the v8 and Strike-X PSU for kicks (admittedly it was an expensive choice >_> but it looks quite well with the case doesn’t it?).

Is it worth it?

In a word, yes.

My computer is now leagues faster than my older rig which was based on a Core 2 Duo processor and it feels a lot snappier than my 2011 Macbook Pro who’s performance is quite bottlenecked by the 5400 RPM drive (something I plan to remedy in the near future).  In terms of games, I can play Metro 2033 on High (with a few tweaks) and Skyrim on Ultra at 1920 x 1080 resolution considerably well (with a quite a few dropped frames on areas with high particle count thanks to my video card and it’s limited bus :/).  One of the best perks I’ve had is mirroring games on my 32 LCD TV so my “audience” can enjoy watching me play :)).

My new build will be an i3-2100 HTPC/Fileserver which I plan to get this January to replace my Buffalo NAS.

Back online yay!

FINALLY!

I lost all hope of waiting for the host of my dev box to get things in line and bring back my development VPS from it’s infinite downtime so I said “screw it” and moved this blog back under my “blog” server at WiredTree and got myself a new VPS from Linode.

Hurrah!

From the get go, I LOOOOOOOVE Linode. Awesome ticket response time, awesome server spec for your money and best of all, I got a VPS in Tokyo (response time yay). Checkout their plans here [Protip: that’s my referral link].

You can checkout the only project (for now at least) I have on my Linode VPS (Project Alter.. check it out here). Once I get things running smoothly (posting updates, not rolling out new code since that’s been optimized thanks to Capistrano), I’ll upload more projects onto it.

I am a bit miffed that they only support credit card payments as I have to manually deposit money onto my EON card to pay for it instead of simply getting paypal subscription to do it for me but hey, for the money I’m paying and the service I’m getting, it’s worth it. Yes, I could simply allow my EON card to draw funds from my Paypal account but I don’t like the extra charges.

In any case, I’m happy to get things back online. Now I need to go back to work on Project Alter 🙂

Installing XCache on a server with Cpanel

Traffic on my VPS jumped over the past few weeks and I needed a better caching solution so I installed W3 Total Cache. It provided you the option of caching pages, databases queries, features an object cache and even allows you to configure a CDN to serve your files. Trouble is, my server only had eaccelerator installed and it wasn’t compiled to use object-caching. Instead of upgrading recompiling eaccelerator, I opted to install XCache on my CPanel-enabled VPS.

Here’s a complete guide on installing Xcache on Cpanel.

First get the latest sources for XCache. As of publishing this guide, it’s 1.3.1

cd /usr/src/
wget http://xcache.lighttpd.net/pub/Releases/1.3.1/xcache-1.3.1.tar.gz

After which, unarchive the source and cd into the directory

tar -xzvf xcache-1.3.1.tar.gz
cd xcache-1.3.1

Time to configure the sources for the current PHP environment

[root@host xcache-1.3.1]# phpize
Configuring for:
PHP Api Version:         20041225
Zend Module Api No:      20060613
Zend Extension Api No:   220060519

Once you see the message above, XCache is ready to install.

./configure && make && make install

This will check for errors and run the installation script. Once complete, you should see this line:

Installing shared extensions: /usr/local/lib/php/extensions/no-debug-non-zts-20060613/

If like me, you have a different OPCode cache installed like eaccelerator, you need to comment any instances of these from your php.ini file. In my case it was

extension=eaccelerator.so
eaccelerator.shm_size="16"
eaccelerator.cache_dir="/tmp/eaccelerator"
eaccelerator.enable="1"
eaccelerator.optimizer="1"
eaccelerator.check_mtime="1"
eaccelerator.debug="0"
eaccelerator.filter=""
eaccelerator.shm_max="0"
eaccelerator.shm_ttl="0"
eaccelerator.shm_prune_period="0"
eaccelerator.shm_only="0"
eaccelerator.compress="1"
eaccelerator.compress_level="9"

After that copy these into the php.ini. Note that these are the settings on my server. Tweak them as you need or please.

zend_extension="/usr/local/lib/php/extensions/no-debug-non-zts-20060613/xcache.so"
[xcache.admin]
xcache.admin.auth = off
xcache.admin.enable_auth = off

; admin installation: http://xcache.lighttpd.net/wiki/InstallAdministration
xcache.admin.user = "admin username" ;if you're going to use this
xcache.admin.pass = "md5 hash of your password" ;change accordingly

[xcache]
xcache.shm_scheme = "mmap"
; to disable: xcache.size=0
; to enable : xcache.size=64M etc (any size > 0) and your system mmap allows
xcache.size = 128M
; set to cpu count (cat /proc/cpuinfo |grep -c processor)
xcache.count = 4
; just a hash hints, you can always store count(items) > slots
xcache.slots = 8K
; ttl of the cache item, 0=forever
xcache.ttl = 13300
xcache.cacher = On
; interval of gc scanning expired items, 0=no scan, other values is in seconds
xcache.gc_interval = 0

; same as aboves but for variable cache
xcache.var_size = 2M
xcache.var_count = 2
xcache.var_slots = 1K
; default ttl
xcache.var_ttl = 3600
xcache.var_maxttl = 7200
xcache.var_gc_interval = 300

xcache.test = Off
; N/A for /dev/zero
xcache.readonly_protection = Off
; for *nix, xcache.mmap_path is a file path, not directory.
; Use something like "/tmp/xcache" if you want to turn on ReadonlyProtection
; 2 group of php won't share the same /tmp/xcache
; for win32, xcache.mmap_path=anonymous map name, not file path
xcache.mmap_path = "/dev/zero"

; leave it blank(disabled) or "/tmp/phpcore/"
; make sure it's writable by php (without checking open_basedir)
xcache.coredump_directory = ""

; per request settings
xcache.cacher = On
xcache.stat = On
xcache.optimizer = Off

[xcache.coverager]
; per request settings
; enable coverage data collecting for xcache.coveragedump_directory and xcache_coverager_start/stop/get/clean() functions (will hurt executing performance)
xcache.coverager = Off

After editing your PHP ini, type:

 php -v

to check if things loaded properly. This is the output from my server:

[root@host xcache-1.3.1]# php -v
PHP 5.2.11 (cli) (built: Oct 27 2009 16:43:13) 
Copyright (c) 1997-2009 The PHP Group
Zend Engine v2.2.0, Copyright (c) 1998-2009 Zend Technologies
    with XCache v1.3.1, Copyright (c) 2005-2010, by mOo
    with the ionCube PHP Loader v3.3.20, Copyright (c) 2002-2010, by ionCube Ltd., and
    with Zend Extension Manager v1.2.2, Copyright (c) 2003-2007, by Zend Technologies
    with Zend Optimizer v3.3.3, Copyright (c) 1998-2007, by Zend Technologies

And you’re done. After which i simply set W3 Total Cache to use XCache for Database and Object Caching, flushed all existing caches and voila!

Just upgraded ;)

I bit the bullet.

I’ve managed to complete a few projects this year which gave me enough money to sponsor the upgrade :).

Yep it’s a costly upgrade (but I still have a few more things to get, like 2 SSDs, one for my older Core 2 13″ MBP and the new one) but it’s well worth every cent spent.
Continue reading

cPanel error: httpd failed – A restart was attempted automagically

While my recent server transfer has been smooth sailing, I did encounter one error that bugged the hell out of me.

At certain points of the day, I’d be receiving a notice that my VPS had it’s httpd process fail and restart automatically.  A copy of the email is posted below:

httpd failed @ Sun Apr 10 07:07:09 2011.. A restart was attempted automagically.
Service Check Method:  [tcp connect]

Failure Reason: Unable to connect to port 80

After a quick bout of google-fu I found our that the server is exceeding the allowed number of connections 🙁 Not good considering that the new server is quite powerful enough to handle more than it’s current peak traffic. Reading further into this, I had to execute this line:

grep MaxClients /usr/local/apache/logs/error_log

which then netted me this response:

WARNING: MaxClients of 512 exceeds ServerLimit value of 256 servers,
 lowering MaxClients to 256.  To increase, please see the ServerLimit
[Sat Apr 09 12:47:10 2011] [error] server reached MaxClients setting, consider raising the MaxClients setting

Soooo the problem is how apache is setup. The fix? Simply log in to cPanel and set the setting for MaxClients to something higher (in my case I doubled the number from 256 to 512) as well as he ServerLimit (to the same number). Of course if you want to do this manually, simply edit the MaxClients settings on apache’s httpd.conf file and restart the server.

Migrating my blogs to WiredTree

Because of several stability issues with my current VPS provider (not for this site), I decided to move forward and transfer to a new host.

By reputation, it was a choice between Servint, WiredTree and KnownHost. I chose WiredTree out of curiosity and I was pleased to find out that their sign up process was a breeze. I did have to wait for several hours for the phone-call to verify my order since I had placed it outside of their office hours but overall it’s been smooth sailing so far.

I’m mildly surprised by the server’s speed. It’s much more snappier than the old Core 2 server that I was hosted on. To top it off, Wired Tree also offers free DNS hosting, a feature that had me sticking to my old host. Now it’s just a matter of waiting for the DNS to propagate and check things out.

I’ll open a ticket to support just to be sure that I did everything right.

uninitialized constant Rack::Test (NameError)

Cucumber-rails 0.4.0 was released for Rails 3.x. If you try to use it with anything below that (Rails 2.3.x), you’ll encounter the error:

uninitialized constant Rack::Test (NameError)

Is the rack-test driver missing? Nope. Well you still need that installed but the root cause of the breakage is lack of a proper test environment for Rails 2.3 whereas Rails 3.0 has this covered.

The solution? Simple.

Use an older version of cucumber. If you missed that from the first two sentences of the post then… :(.

For me it works using this configuration for the config/cucumber.rb file (that’s our environment file, you can also opt to place this in your test.rb file instead):

config.gem 'cucumber-rails',   :lib => false, :version => '0.3.2'

or if you’re using bundler:

gem "cucumber-rails", "~> 0.3.2"

or if you’re really lazy and don’t have anything to automatically install gems for your environment:

gem install cucumber-rails -v=0.3.2

Resize or reprocess all Paperclip attachments

Update: This post was written based on an older version of paperclip which didn’t have a default rake task for this.

I’ve been using the Paperclip plugin/ gem for image attachment in several of my apps and I’ve encountered a scenario wherein I needed to change one of the styles configured in the model to accommodate the client’s request. At that point, there are already a bunch of images in the project so I need to resize or in Paperclip’s terms reprocess all of them to fit the new configuration.

Here’s how I did it:

If you have paperclip installed as a plugin

If Paperclip is installed as a plugin, you can do this:

rake paperclip:refresh:thumbnails CLASS=Attachment

Just replace Attachment with whatever classname you are using for with Paperclip

If it’s installed as a gem, do this inside script/console:

Attachment.all.each {|s| s.logo.reprocess! if s.logo}

Just replace Attachment with whatever class name you are using for with Paperclip and logo with whatever attribute name you are using for the image.

And you’re done 🙂

New Macbooks are out

Apple’s 2011 refresh for it’s Macbook Pro line is out and wow am I excited to get one (read more via TechieXplorer).

I’m looking to get this SKU:

  • 2.0GHz quad-core Intel Core i7 or 2.2GHz quad-core Intel Core i7
  • 4GB 1333MHz RAM
  • 500GB 5400-rpm or 750GB 5400-rpm hard disk drive
  • Intel HD Graphics 3000 integrated graphics card
  • AMD Radeon HD 6490M with 256MB GDDR5 or AMD Radeon HD 6750M with 1GB GDDR5 dedicated GPU
  • Built-in battery (7 hours)

The price? $1799.  Pretty expensive yep, but I think I can manage with my current income – expenditures.  I just have to wait until I build my new gaming rig before shelling out cash for a new Macbook Pro